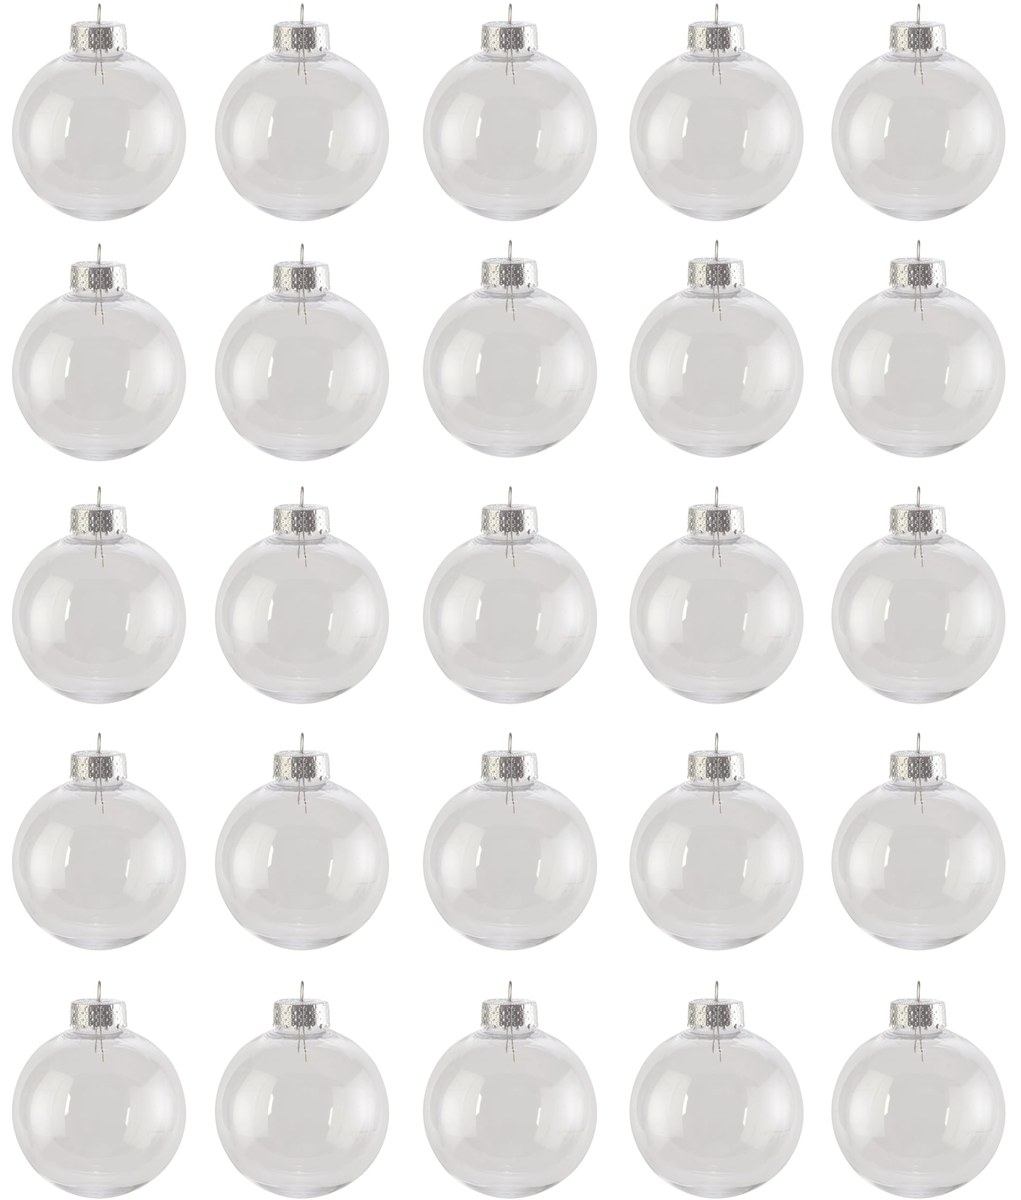
Creative Hobbies 67mm Clear Plastic Ornaments
A 25-piece pack of clear balls for ribbon, paper curls, tiny dried botanicals or other lightweight, dry fillings.
- Twenty-five matching blanks
- About 2⅝ inches across
- Plastic instead of breakable glass
Christmas ornament crafts
The best DIY Christmas ornament is the one whose method matches the look you want. Fill a clear ball for speed, use paint pens for personalization, or choose clay, felt or wood beads for a handmade finish.
Research guide with affiliate links. We may earn a commission. No prices are shown because listings change.
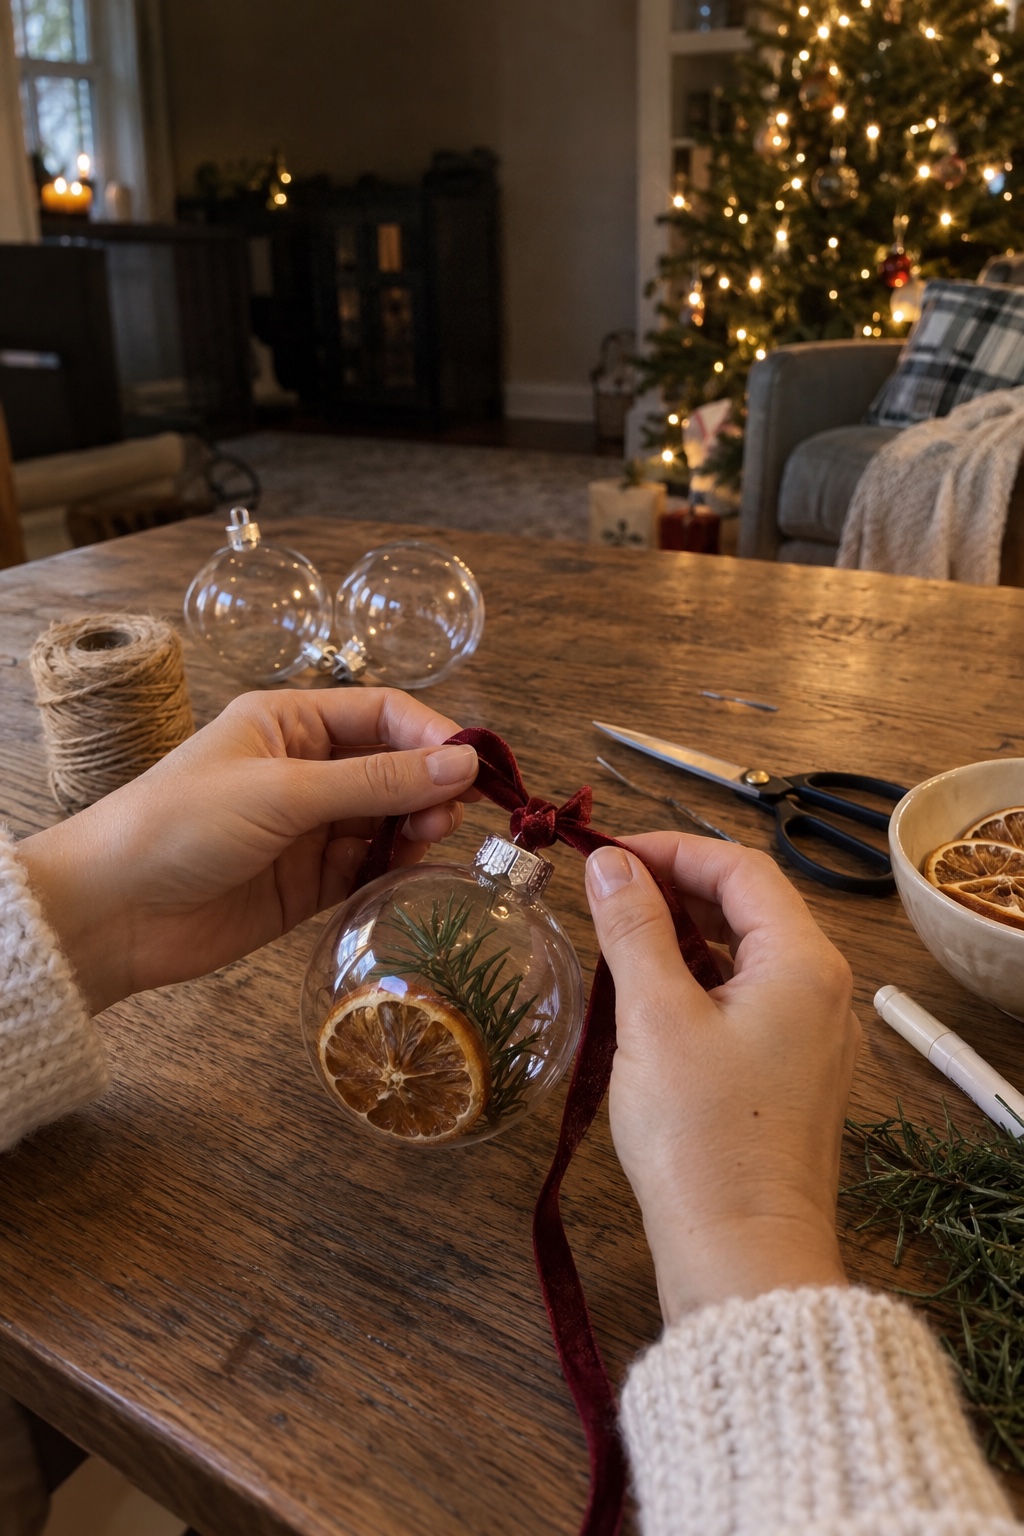
The five useful supplies
Each pick has one clear job. Choose the card that matches your ornament idea, then add only basic household tools such as scissors, a rolling pin or a small brush when the method calls for them.
A 25-piece pack of clear balls for ribbon, paper curls, tiny dried botanicals or other lightweight, dry fillings.
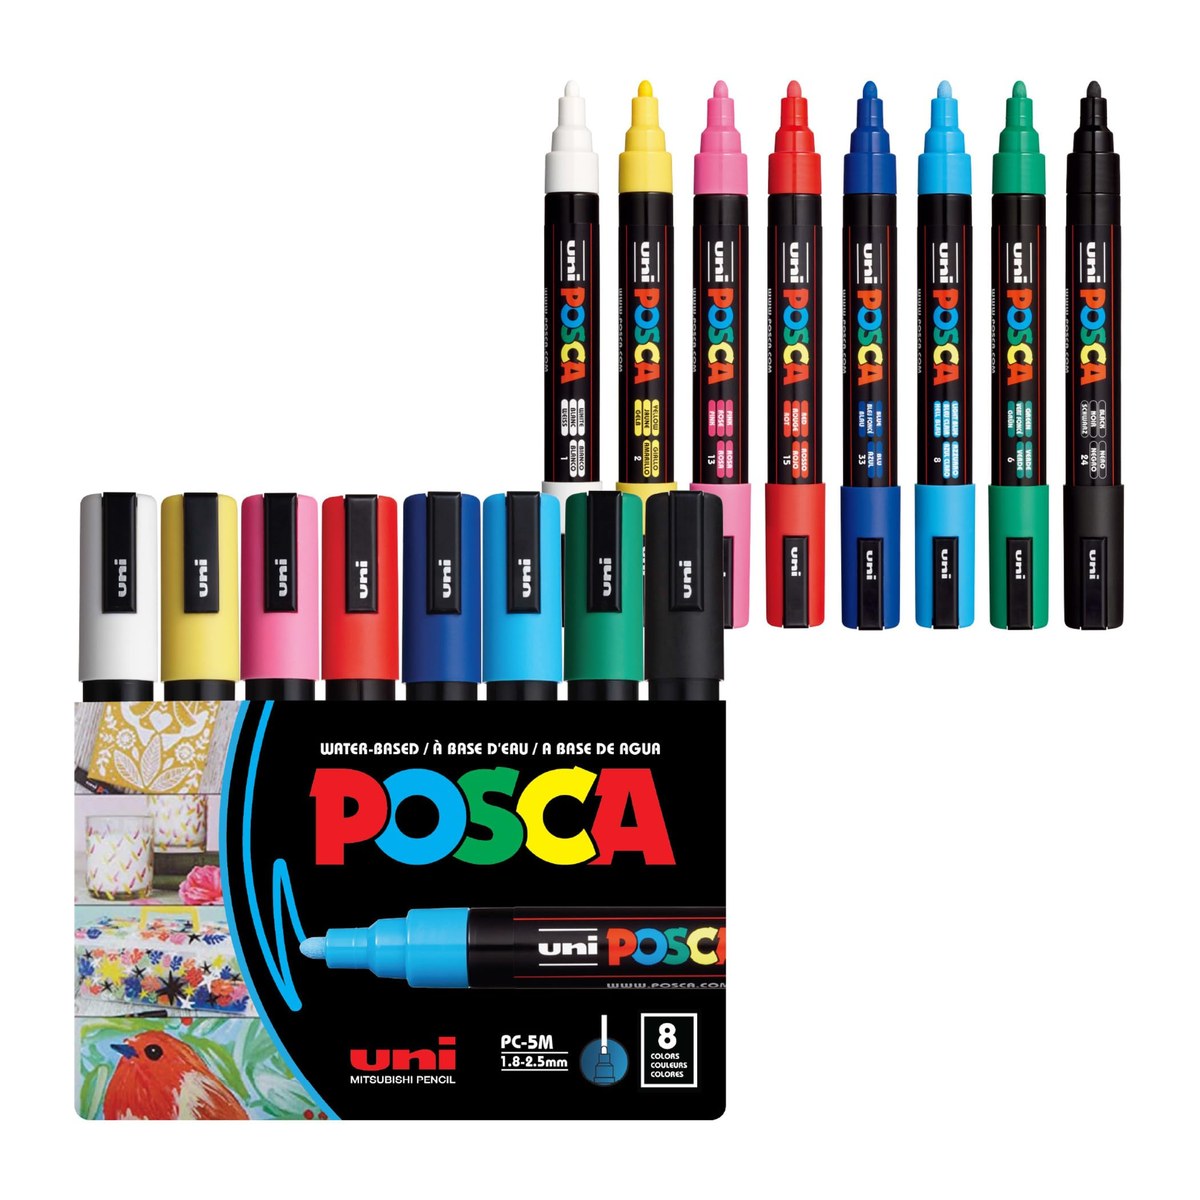
The medium 1.8–2.5mm bullet tip is wide enough for simple motifs and controlled enough for names or small line work.
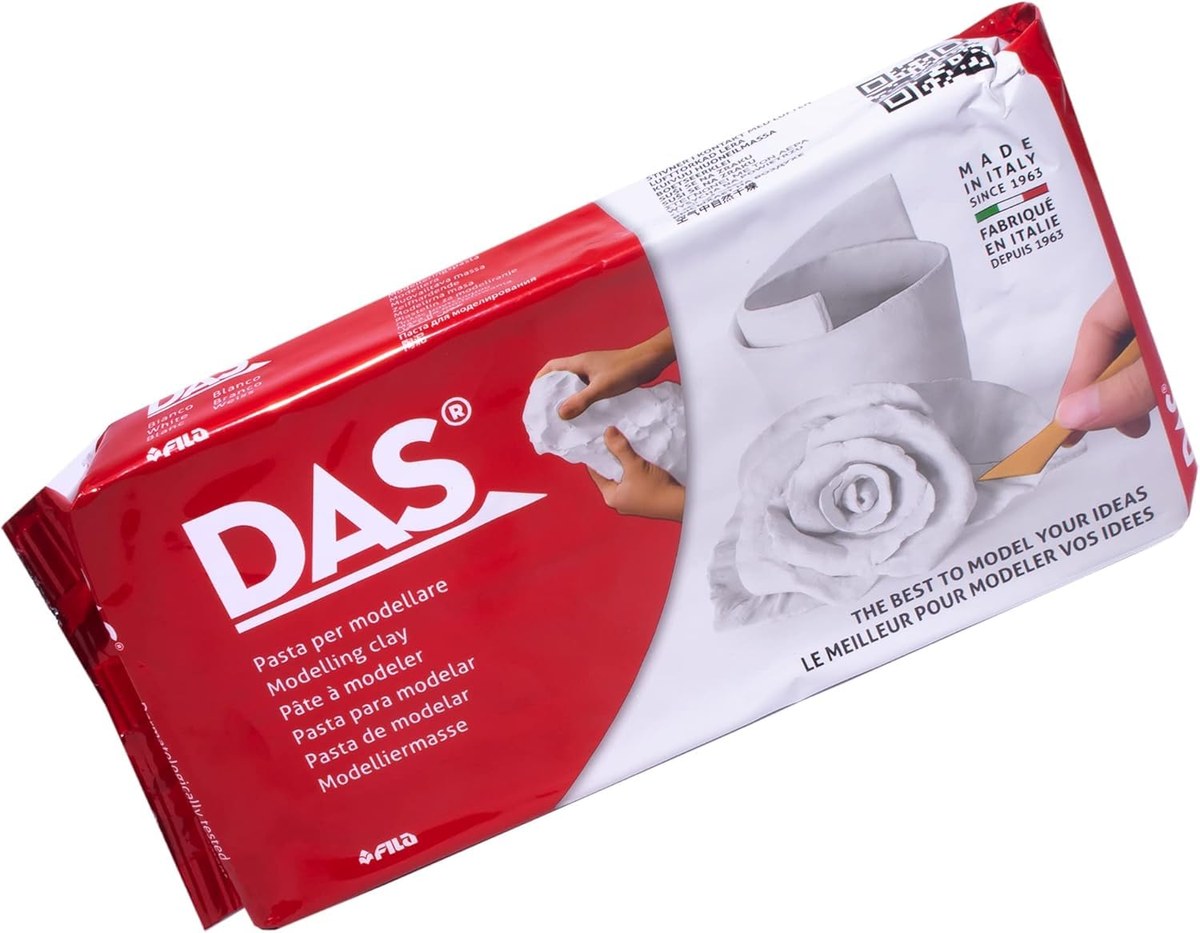
A 2.2-pound white block for rolled ornaments impressed with evergreen sprigs, lace or simple stamps—without a kiln.
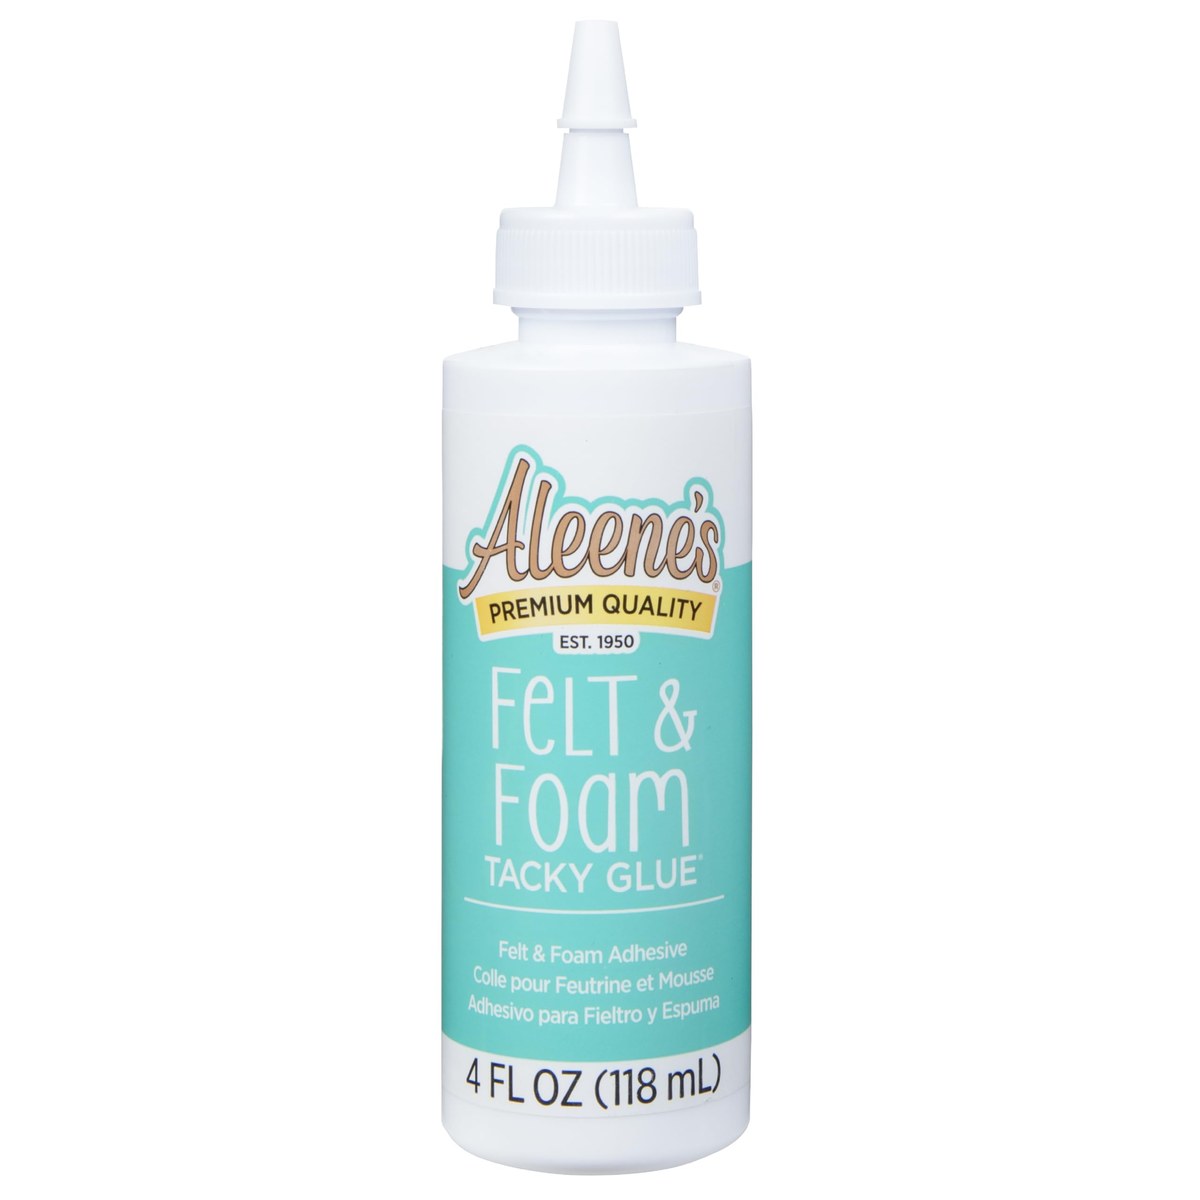
A thick, clear-drying adhesive designed to grab felt without the runniness of thinner general-purpose glue.
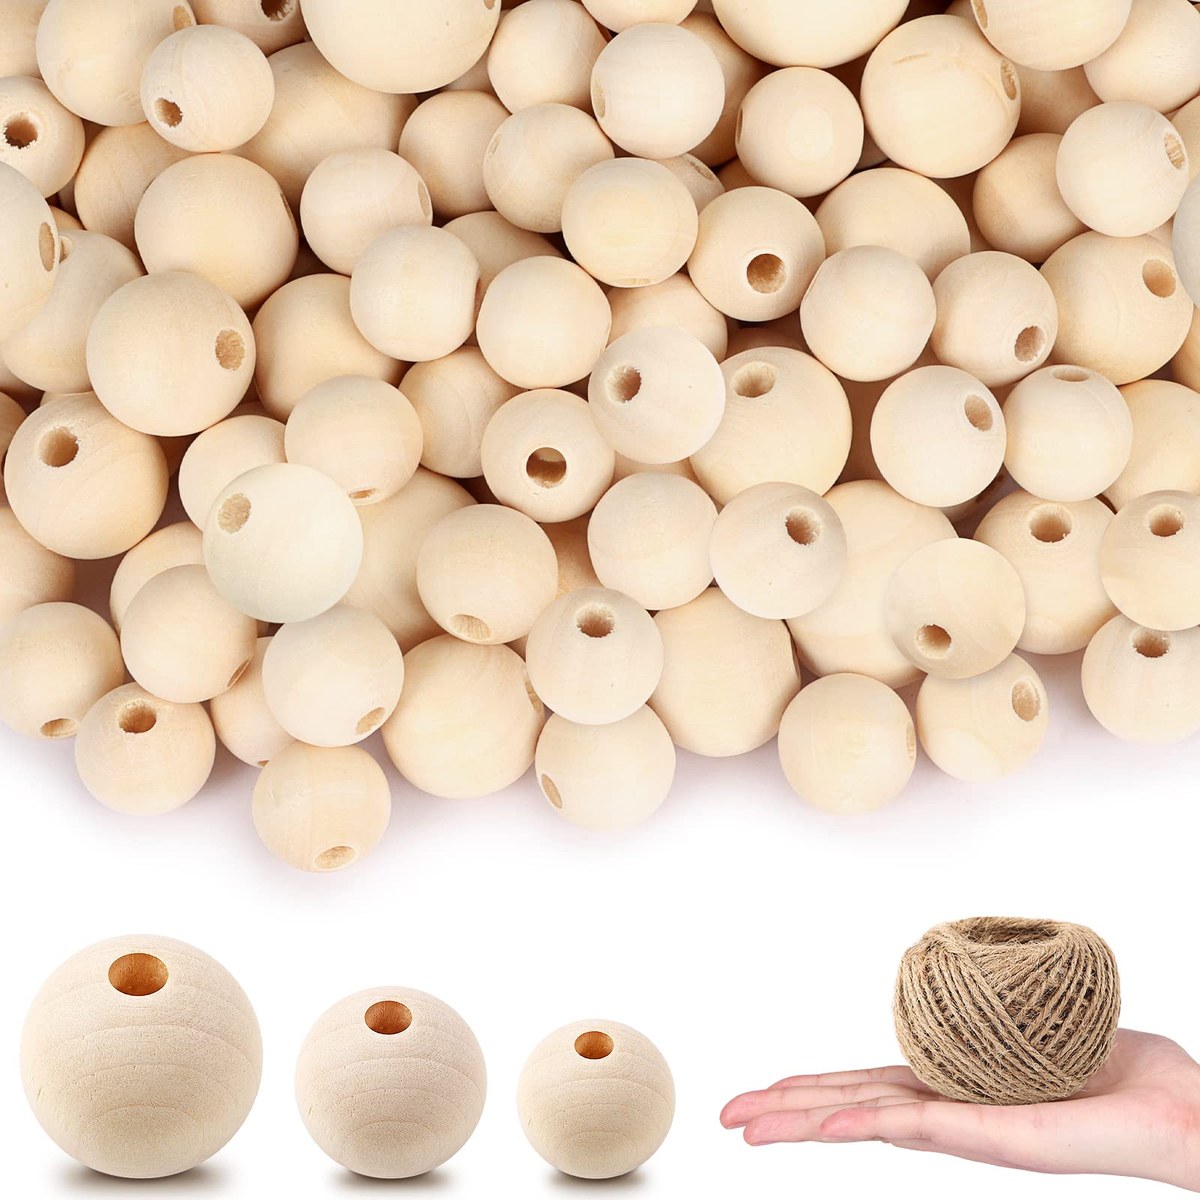
A mixed pack of 16mm, 20mm and 25mm unfinished beads with jute twine for simple stars, trees and hanging strands.
Choose by finished look
The material should do most of the visual work. That keeps the ornament polished and prevents a simple project from turning into a cluttered one.
Fastest and most forgiving. Best when the ribbon, paper or botanical filling is the star.
Best for initials, dates, snowflakes and repeated line patterns on a prepared surface.
Best for matte white forms, pressed greenery and heirloom-looking texture.
Best for soft shapes, layered color and ornaments that will not shatter.
Best for a natural, Scandinavian-style tree, star or simple hanging strand.
At-a-glance comparison
Choose based on the finish and patience you have—not on how many supplies a tutorial can fit on the table.
| Method | Best for | Active work | Main wait | Key supply |
|---|---|---|---|---|
| Clear filled | Fast batches and beginner groups | About 5–10 minutes each | None for dry fillings | Clear plastic ornaments |
| Paint pen | Names, dates and graphic patterns | About 10–20 minutes each | Paint and optional finish curing | Opaque paint marker |
| Air-dry clay | Texture and matte handmade style | About 15–25 minutes each | Full package-directed drying time | Air-hardening clay |
| No-sew felt | Soft shapes and simple layering | About 15–25 minutes each | Adhesive drying time | Felt-specific glue |
| Wood bead | Minimal, natural ornament sets | About 10–20 minutes each | None unless beads are painted | Beads and sturdy cord |
The simple plans
These are compact starting plans, not rigid recipes. Make one test ornament before you cut, fill or decorate the whole batch.
Remove the cap, add one restrained filling and replace the cap. Narrow velvet ribbon, curled paper, tiny faux snow or fully dried botanicals work better than a crowded mixture. Keep anything damp, oily or perishable out of a sealed ornament.
Clean and dry the ornament, test the marker on the same surface, then draw the simplest version of the motif first. POSCA says the PC-5M is permanent on porous surfaces but erasable on most smooth nonporous materials, so plastic and glossy finishes need testing and may need a compatible protective finish.
Roll the clay to an even slab, cut a simple circle or star, press a clean evergreen sprig or textured fabric into the surface, and make the hanging hole before drying. Smooth the edge while the clay is workable and follow the package directions for drying and finishing.
Cut two matching shapes, place a hanging loop between them and use a thin line of felt adhesive near the edge. Press the layers together without squeezing glue out of the seam. Aleene's says its Felt & Foam formula dries clear and forms a permanent, non-washable bond.
Cut a generous cord length, tie a temporary stopper and thread a short sequence of beads. For a tree, use larger beads at the bottom and smaller beads toward the top. For a star, use a simple wire form or follow a tested beading pattern rather than forcing stiff cord into sharp corners.
Make one finished sample before producing the rest. It exposes three problems early: a filling that looks sparse, a marker that will not adhere, or a clay/felt piece that is too thick to hang neatly. Adjust the sample, then repeat the proven version.
Quick answers
A clear fillable ornament is the easiest starting point because the finished look comes from arranging lightweight materials inside the ball. There is no drawing, sewing or sculpting to master.
Use light, dry materials such as narrow ribbon, paper curls, faux snow, tiny evergreen clippings or dried botanicals. Avoid wet, oily or perishable fillings, which can fog, stain or spoil inside a sealed ball.
Roll the clay to an even thickness, smooth the edge before drying and let both sides dry gradually according to the package directions. Very thin sections and uneven drying are more likely to crack or curl.
Not always. Marker behavior depends on the surface. Test first; paint generally holds more securely on porous or prepared surfaces than on smooth nonporous plastic, which may require a suitable protective finish.
Use a thick craft adhesive specifically formulated for felt. Apply a thin bead near the edge, press the layers together and allow the full manufacturer-listed drying time before hanging.
This is a research-based craft and buying guide, not a personal hands-on review. Product details, availability, materials and instructions can change; confirm the current listing and follow the manufacturer's directions. Small beads, ornament caps and craft tools can present hazards for young children; supervise age-appropriate projects. As an Amazon Associate I earn from qualifying purchases. Amazon and the Amazon logo are trademarks of Amazon.com, Inc. or its affiliates.
← More buying guides · How we research · Affiliate Disclosure · Privacy Policy · Contact